
The Sable Wharf shares practical, down-to-earth guidance on uk inland waterways and waterside living for readers across the UK.
- 0123456789
- Angle Bd Abdelmoumen & rue soumaya, Résidence
- [email protected]
The Sable Wharf shares practical, down-to-earth guidance on uk inland waterways and waterside living for readers across the UK.
 By Eleanor Hartley
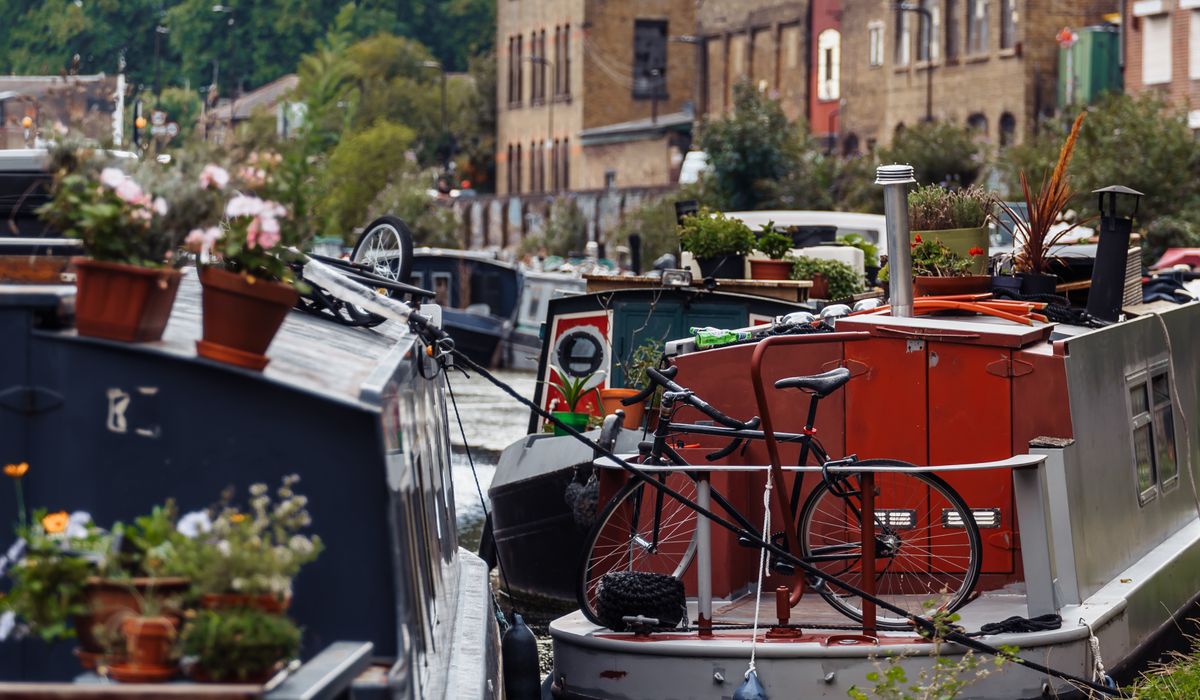
A narrowboat is a heavy object, and water is never still. A fifteen-tonne boat nudged by a passing hire boat, a lock emptying, or a gust across an open stretch of the Grand Union will all test whatever is holding you to the bank. Most mooring failures are not caused by weak rope but by a knot that was tied in a hurry, shaken loose by a passing boat, or simply not up to the job.
You do not need a sailor's full repertoire. Four or five reliable knots, tied correctly and quickly in the wet and the dark, will cover almost everything you meet between a rural visitor mooring and a busy town centre. Learn them at home, in the warm, with a mug of tea — not mid-lock with a wind blowing.
If you learn only one knot, learn the bowline. It creates a loop that will not slip or tighten under load, yet unties easily once the strain comes off — which is exactly what you want when a rope has been holding a boat all night in the rain.
Make a small loop in the standing part of the rope, about a metre from the end. Bring the working end up through the loop, round behind the standing part, and back down through the loop. The old rhyme — the rabbit comes out of the hole, round the tree, and back down the hole — is genuinely useful for teaching your crew.
On a narrowboat the bowline earns its keep when you want a loop that cannot jam: dropping over a mooring bollard, securing a fender line, or attaching a spring line to a ring. It works best in the braided or three-strand nylon and polyester ropes most canal boats carry. A bowline in slick polypropylene can shake loose when the rope is slack — add a half hitch with the tail as a safety if that is all you have on board.
This is the knot most experienced boaters reach for when tying up to a ringside mooring or a wooden post. The round turn takes the whole load of the boat onto the post immediately, so you are not fighting the weight of the hull while you finish the knot. Then two half hitches lock it off.
The beauty of it is that you can adjust the length under load by easing the turns, and it comes apart easily even after a hard pull. If you are single-handing through a lock, this is the knot to have on your centre line.
The clove hitch is the fast one. Two interlocking turns around a rail, a bollard, or a stanchion and it is on — ideal for hanging fenders, tying off a temporary line while you sort out a more permanent one, or securing a boat hook to a roof rail.
It is not, however, a knot to trust with your boat's entire security overnight. A clove hitch can creep when the load shifts repeatedly, and it can slip on smooth metal. Use it where you can keep an eye on it, or back it up with a half hitch. On square-section mooring posts you will find it holds better than on round ones.
Most narrowboats have at least a couple of cleats, and knowing how to use them properly saves a great deal of faffing. Take a full turn around the base of the cleat first — that alone will hold a surprising amount of load. Then lead the rope diagonally across the top and around the opposite horn, in a figure of eight, one or two turns. Finish with a turn that tucks under itself to lock it off.
Never finish with a pile of random turns. A proper figure-of-eight pattern can be released in seconds under tension, which matters if a lock is filling and you need to let the line run. When you leave the boat for the day, ease the tension slightly so the rope is not bar-tight against the cleat; a little slack allows for changing water levels.
Knots are muscle memory. Tying a bowline once at the kitchen table will not help you at Braunston on a wet November afternoon. Spend ten minutes a day for a week and you will have them for life.
Get these five skills under your belt and tying up becomes a calm, one-minute job rather than a scramble. That leaves more time for the bit you actually bought the boat for: watching the herons and the hedgerows slide past at three miles an hour.


We are not gonna make spamming
